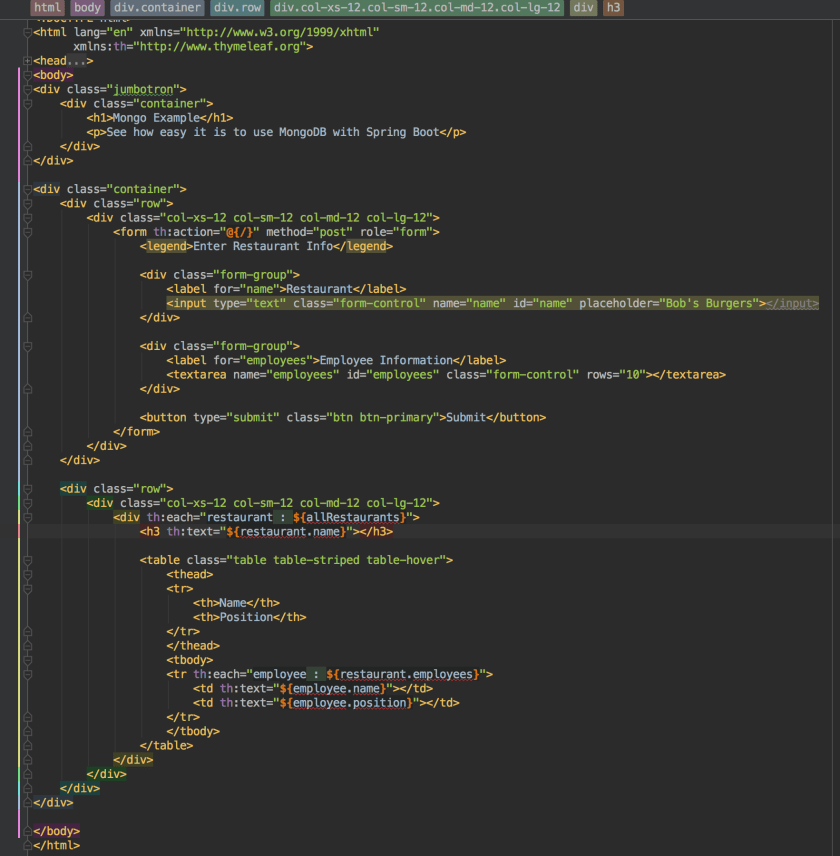
In a previous post, I showed how we can use Spring Security with JDBC to store user creditionals in a database. This approach works fine in small projects but I find it to be limiting in larger applications. Many larger applications prefer to use some sort of Object Relational Mapping (ORM) library to handle storing mapped objects to a database. This post shows how to configure Spring Security to use Hibernate to look up saved users in a database.
applications.properties
Spring Boot uses an application.properties file to configure the application. By default, Spring Boot provides an embedded datastore for the application. We only need minor configuration to make it work with Hibernate.
spring.jpa.hibernate.ddl-auto=create-drop
spring.jpa.properties.hibernate.current_session_context_class=org.springframework.orm.hibernate5.SpringSessionContext
spring.datasource.driver-class-name=org.hsqldb.jdbcDriver
The first line tells the application to scan any classes marked with the @Entity annotation and create database tables for these objects. The next line configures tells it that we wish to use Hibernate. The final line tells the application which JDBC driver to use to interact with the database.
Mapped Objects
Hibernate (and other ORMS) use decorated objects to map to the database. In many cases, these are simply objects that have a list of fields and getters and setters (POJOs) and overide equals() and hashcode(). In most cases, this ends up causing a lot of boiler plate code. Kotlin provides us with data classes that cut down on the noise.
Roles
Spring Security tracks user roles throughout the application, so we need a class to represent user roles.
@Entity
data class Roles(@field: Id @field: GeneratedValue var id : Int = 0,
@field: ManyToOne(targetEntity = SiteUser::class) var user : SiteUser,
var role: String = "")
This class defines a POKO (Plain Old Kotlin Object) that represents Roles. It’s very boring, but readers will notice how to annotate fields in Kotlin [@field: [Java Annotation]]. So in the case of @Id, we just use @field: Id. The same holds true for @ManyToOne and other JPA annotations.
SiteUser
Since Spring Security has a User class, I find it to be more readable to name our persistent user as SiteUser.
@FetchProfiles(
FetchProfile(name = "default",
fetchOverrides = arrayOf(
FetchProfile.FetchOverride(entity = SiteUser::class, association = "roles", mode = FetchMode.JOIN)))
)
@Entity
data class SiteUser (@field: Id @field: GeneratedValue var id : Int = 0,
var userName: String = "",
var password: String = "",
var enabled : Boolean = true,
var accountNonExpired: Boolean = true,
var credentialsNonExpired: Boolean = true,
var accountNonLocked : Boolean = true,
@field: OneToMany(targetEntity = Roles::class) var roles: MutableSet = mutableSetOf()){
//Convert this class to Spring Security's User object
fun toUser() : User {
val authorities = mutableSetOf()
roles.forEach { authorities.add(SimpleGrantedAuthority(it.role)) }
return User(userName, password,enabled, accountNonExpired, credentialsNonExpired, accountNonLocked,authorities);
}
}
This is another data class with JPA mappings. The SiteUser class have a one to many relationship to Roles (in other words, one user can have multiple roles). Hibernate lazily loads collections by default, so unless we explicilty tell it to eager fetch our user roles, we will get a proxy error later on the in application.
There are several ways to work around this issue. We can use HQL (Hibernate Query Language) to eagerly load Roles. Another solution it to pass FetchType.Eager argument to the OneToMany annotation. A final approach is the one seen here and that’s to use Fetch Profiles to instruct Hibernate what to load. One advantage of FetchProfiles is that a class can have multiple fetch profiles, so using FetchProfiles is a highly flexible solution.
The other thing to note about this class is how to hooks into Spring Security. This class has a toUser() method which is a utility method that converts our SiteUser object into a Spring Security User object. If you look closely, the fields on our SiteUser class are the exact same fields as the User class. This makes it really easy to convert a SiteUser to a User.
Since we configured the application.properties to generate our database DDL (spring.jpa.hibernate.ddl-auto=create-drop), Hibernate will see to the details of scanning our Roles and User class and generated the necessary database tables for us. There is no further work for us to do at this point regarding the data store.
Data Configuration
Our next job is to provide Spring Security with a path to look up Users from the database.
DataConfig
Spring Security needs a path to the database in order to look up User objects. That means we are going to need Repository and Service classes in the application, but those classes depend on a SessionFactory object from Hibernate.
@Configuration
class DataConfig {
@Bean
fun sessionFactory(@Autowired entityManagerFactory: EntityManagerFactory) :
SessionFactory = entityManagerFactory.unwrap(SessionFactory::class.java)
}
We really just need a bean definition for a SessionFactory. Spring Boot is configured to use JPA (Java Persistence Api), which is the ORM standard that Hibernate and other ORM libraries implement. There two main advantages of using the standard JPA rather than vendor API.
- Other developers are likely to know the standard API over vendor specific APIs
- You can swap ORM libraries when sticking to the standard
In reality, I have never been on a project that switched ORM libraries and there are times when an ORM library offers features that aren’t offered in a standard. Since we know that we are going to use Hibernate, we can just unwrap the SessionFactory object from the injected entityManagerFactory and just return the SessionFactory. At this point, we can inject SessionFactory into our classes and use Hiberante API directly.
UserRepository
UserRepository works directly with the database.
@Repository
//Inject SessionFactory into this class
class UserRepository(@Autowired private val sessionFactory: SessionFactory){
//Used to save new users into the datastore
fun saveOrUpdate(user: SiteUser){
sessionFactory.currentSession.saveOrUpdate(user)
}
//Query the database by user name and return a SiteUser that matches
//the user name
fun loadByUsername(userName: String) : SiteUser =
sessionFactory.currentSession.createCriteria(SiteUser::class.java, "su")
.add(Restrictions.eq("su.userName", userName)).uniqueResult() as SiteUser
//Return all Site Users from the database
fun allUsers(profile : String = "default") : List {
val session = sessionFactory.currentSession
session.enableFetchProfile(profile)
return session.createCriteria(SiteUser::class.java).list() as List
}
}
You will notice that we inject SessionFactory into this class. Spring Security needs to query the database by the UserName, so loadByUsername uses Hibernate’s Criteria API to create a query that searches for users that match the user name. The other two methods in this class are not related to Spring Security but are used by the application. The saveOrUpdate() method is used to persist a new user into the databse. The allUsers() method returns all users stored in the database.
UserService
The UserService class provides the glue between Spring Security and the Database.
@Transactional //Have Spring Manage Database Transactions
@Service //Mark this class as a Service layer class
class UserService(@Autowired private val userRepository: UserRepository) //Inject UserRepository into this class
: UserDetailsService { //To work with Spring Security, it needs to implement UserDetailsService
//Load a user by user name and call our toUser() method on SiteUser
override fun loadUserByUsername(userName: String): UserDetails = userRepository.loadByUsername(userName).toUser()
//Saves a new user into the datastore
fun saveOrUpdate(user : SiteUser){
//Encrypt their password first
user.password = BCryptPasswordEncoder().encode(user.password)
//Then save the user
userRepository.saveOrUpdate(user)
}
//Return all users
fun allUsers() = userRepository.allUsers()
}
Spring provides container managed transactions when a class is marked @Transactional. The important part of this class is that it implements UserDetailsService, which allows this class to get passed to Spring Security when we configure our authentication (next section). The loadByUsername method comes from the UserDetailsService interface. It returns a User object, which means we need to call our toUser() method that we defined on SiteUser() to convert SiteUser() to User().
The other method of interest is the saveOrUpdate() method. You will notice that we encrypt our User’s password prior to saving the object to the database. This is a critical step because without it, anyone could peek into our database and get our users password. We also need to encrypt the passwords because we configure our authentication to decrypt passwords later on.
Configuring Spring Security
Now that we have a path that allows the application to access and retreive users from the databse, we are ready to configure Spring Security.
SecurityConfig
The SecurityConfig class does the work of configuring our Spring Security in this application.
@Configuration
class SecurityConfig(@Autowired private val userService : UserService) : //Inject UserService
WebSecurityConfigurerAdapter() { //Extend WebSecurityConfigureAdaptor
//Override this method to configure Authentication
override fun configure(auth: AuthenticationManagerBuilder) {
auth
.userDetailsService(userService) //We pass our userService to userDetailsService
.passwordEncoder(BCryptPasswordEncoder()) //Pass our Encryption Scheme also
}
override fun configure(http: HttpSecurity) {
http.
formLogin()
.and()
.httpBasic()
.and()
.authorizeRequests()
.antMatchers("/display").authenticated()
.anyRequest().permitAll()
}
}
The configure(AuthenticationManagerBuilder) is our method of interest. The auth object has a userDetailsService method that accepts any class that implements UserDetailsService. Since our UserService class implements this interface, it can be used as a value for the userDetailsService method. At that point, our Security is linked to our database. The other method is passwordEncoder that takes an instance of ByCryptPasswordEncorder(), the same class used UserService to encrypt our passwords. Now the AuthenticationManagerBuilder can speak to our database and decode our passwords.
Controller Class
At this point, our application is configured to work Spring Security and a database. Our next two classes setup Spring MVC so that we have a working example.
RegisterController
RegisterController is used to add users to the application.
@Controller
@RequestMapping("/register")
class RegisterController(@Autowired private val userService: UserService){
@RequestMapping(method = arrayOf(RequestMethod.GET))
fun doGet(model: Model) : String{
model.addAttribute("user", SiteUser())
return "register"
}
@RequestMapping(method = arrayOf(RequestMethod.POST))
fun doPost(siteUser: SiteUser) : String{
userService.saveOrUpdate(siteUser)
return "redirect:/display"
}
}
UserDisplay
UserDisplay controls the display page and shows all users in our database.
@Controller
@RequestMapping("/display")
class UserDisplay(@Autowired private val userService: UserService){
@RequestMapping(method = arrayOf(RequestMethod.GET))
fun doGet(model: Model) : String{
model.addAttribute("users", userService.allUsers())
return "display"
}
}
Web Pages
Finally we have our web pages. One page allows us to register a user, and the other one shows all of our users.
register.html

display.html

Conclusion
Here are some screenshots of what the working site looks like when finished.
As you can see, Spring Security works fluently with ORM solutions such as Hibernate. This makes it much easier to add and retreive users in a web application!
You can clone the full source for this project from my GitHub page here or view the YouTube view here.
Like this:
Like Loading...