Kotlin Spring Security Custom Login

Spring Security provides a custom login page that is functional but not very attractive. In most cases, web developers want a more attractive looking login page. This post demonstrates how to configure Spring Security to use a custom login page. Readers can view this tutorial for a demonstration on how to configure basic Spring Security.

Front End—Write a Custom Page

We are going to start by writing a custom login page. Spring Security is very flexible about the page itself, but there are a few rules that need to be followed.

  • Form requires Username
  • Form requires Password
  • CSRF Token is required

This is a screen shot of the page that will be used for this tutorial.
LoginPage
Followed by the code.
LoginCode
It’s critical to remember to include the CSRF token in the form. Without it, the server will refuse any HTTP POST requests and will respond with code 405. The th:name="${_csrf.parameterName}" th:value="${_csrf.token}" on an input take will do the job of adding the CSRF token.

Backend—Configure Spring

Once the front end code is ready, you need to configure Spring Security to use this page. In order to render the login page, Spring will need some sort of controller class. Developers are free to write their own, but it’s also trivial to make use of the one Spring is happy to provide.

@Configuration
class WebConfig : WebMvcConfigurerAdapter() {
    override fun addViewControllers(registry: ViewControllerRegistry) {
        //This class adds a default controller for the login page.
        //Otherwise you would need to write a custom controller class
        registry.addViewController("/login").setViewName("login")
    }
}

The next job is to configure Spring security.

@Configuration //Make this as a configuration class
@EnableWebSecurity //Turn on Web Security
class SecurityWebInitializer : WebSecurityConfigurerAdapter(){
    override fun configure(http: HttpSecurity) {
        http
                .authorizeRequests()
                    //We need to allow anonymous users to
                    //access the login page (otherwise we get 403)
                    .antMatchers("/login").anonymous()
                    .anyRequest().authenticated()
                .and()
                    //Setup a custom login page
                    .formLogin()
                        .loginPage("/login")
                        .usernameParameter("username")
                        .passwordParameter("password")
                .and()
                    .httpBasic()
    }

    override fun configure(auth: AuthenticationManagerBuilder) {
        //This code sets up a user store in memory. This is
        //useful for debugging and development
        auth
                .inMemoryAuthentication()
                    .withUser("bob")
                    .password("belcher")
                    .roles("USER")
                .and()
                    .withUser("admin")
                    .password("admin")
                    .roles("USER", "ADMIN")
    }
}

It’s important to allow anonymous() access to the login page. Without it, Spring Security will continue to redirect to the login page until the server returns 403 (too many redirects).

Conclusion

Once complete, the site will render a custom login page like what is shown in the video.


You can get the code for the complete project at my GitHub page.

Spring Security Form Login with JDBC – Kotlin

Spring Security makes it really simple to authenticate users against a database. This tutorial builds on the previous tutorial of configuring Spring Security to secure web applications.

Database Schema

Spring Security is happy to do all of the work of querying a database and validating user information provided your database conforms to the correct database schema (note, you are free to customize). Here is the sql script that is used to configure an example datasource for this project that is based of the one provided in the Spring documetation.

/* See https://docs.spring.io/spring-security/site/docs/current/reference/html/appendix-schema.html */

DROP TABLE IF EXISTS persistent_logins;
DROP TABLE IF EXISTS group_members;
DROP TABLE IF EXISTS group_authorities;
DROP TABLE IF EXISTS groups;
DROP TABLE IF EXISTS authorities;
DROP TABLE IF EXISTS users;

create table users(
  username varchar_ignorecase(50) not null primary key,
  password varchar_ignorecase(50) not null,
  enabled boolean not null
);

create table authorities (
  username varchar_ignorecase(50) not null,
  authority varchar_ignorecase(50) not null,
  constraint fk_authorities_users foreign key(username) references users(username)
);

create unique index ix_auth_username on authorities (username,authority);

create table groups (
  id bigint generated by default as identity(start with 0) primary key,
  group_name varchar_ignorecase(50) not null
);

create table group_authorities (
  group_id bigint not null,
  authority varchar(50) not null,
  constraint fk_group_authorities_group foreign key(group_id) references groups(id)
);

create table group_members (
  id bigint generated by default as identity(start with 0) primary key,
  username varchar(50) not null,
  group_id bigint not null,
  constraint fk_group_members_group foreign key(group_id) references groups(id)
);

create table persistent_logins (
  username varchar(64) not null,
  series varchar(64) primary key,
  token varchar(64) not null,
  last_used timestamp not null
);

insert into users values('bob_belcher', 'burger_bob', true);
insert into authorities values ('bob_belcher', 'user');

This script drops all tables if they exist and then recreates the database tables. It also populates the database with a user: bob_belcher. Creating and destroying the DB in this fashion is useful for both development purposes and unit testing. Naturally, a production machine would preserve the data each time.

Spring Configuration

Configuring Spring Security to work with our database is a complete breeze at this point. We start by creating two bean definitions for both a data source and a jdbcTemplate.

@Configuration
class DataConfig {

    @Bean(name = arrayOf("dataSource"))
    fun dataSource() : DataSource {
        //This will create a new embedded database and run the schema.sql script
        return EmbeddedDatabaseBuilder()
                .setType(EmbeddedDatabaseType.HSQL)
                .addScript("schema.sql")
                .build()
    }

    @Bean
    fun jdbcTemplate(@Qualifier("dataSource") dataSource: DataSource) : JdbcOperations {
        return JdbcTemplate(dataSource)
    }
}

Since I am using Spring Boot, I did qualify our dataSource bean so that the container knew which bean I wanted to use for our datasource.

Now that we have our data source configured, we just need to tell Spring Security about it. It’s not very difficult.

@Configuration //Make this as a configuration class
@EnableWebSecurity //Turn on Web Security
class SecurityWebInitializer(
        //Inject our datasource into this class for the AuthenticationManagerBuilder
        @Autowired @Qualifier("dataSource") val dataSource: DataSource)
    : WebSecurityConfigurerAdapter(){

    override fun configure(http: HttpSecurity) {
        http
                    .formLogin()
                .and()
                    .logout()
                        .logoutSuccessUrl("/")
                .and()
                    .rememberMe()
                        .tokenRepository(JdbcTokenRepositoryImpl())
                            .tokenValiditySeconds(2419200)
                                .key("BurgerBob")
                .and()
                    .httpBasic()
                .and()
                    .authorizeRequests()
                        .antMatchers("/").authenticated()
                        .anyRequest().permitAll()
    }

    override fun configure(auth: AuthenticationManagerBuilder) {
        //As long as our database schema conforms to the default queries
        //we can use jdbcAuthentication and pass in our data source
        //Spring will do the rest of the work for us
        auth.jdbcAuthentication().dataSource(dataSource)
    }
}

In this case, all that is needed is to call auth.jdbcAuthentication().dataSource and pass in our dataSource object. Spring Security takes it from there.

Conclusion

Here is a video of this in action.


You can grab the entire code from my Github page here.

Spring Bean Validation Example (JSR-303) in Kotlin

Many developers need a solution to validating forms. Spring MVC supports bean validation (JSR-303) which is an easy to use annotation driven framework that is used to validate objects. Spring utilizes bean validation throughout the entire application framework, allowing developers to annotation one or more objects and ensure they are valid from the controller all the way to the data access layer.

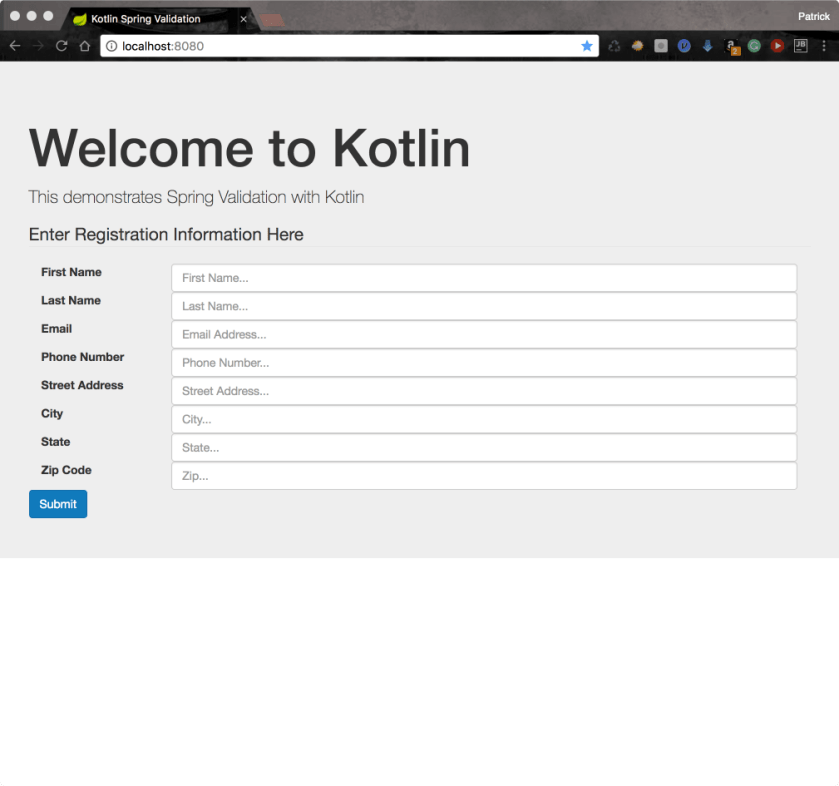
Since Kotlin is compatible with Java libraries, this post demonstrates how to use bean validation along with Spring MVC to validate a user registration form. Here is a screen shot of the form we are going to validate.
WelcomeScreen copy

Step 1—Define a Form Object

We will use a POJO that carries data from the view to the server. Kotlin makes this really easy because it provides data classes.

data class User(@get: NotBlank (message = "{first_name.required}")
                    var firstName : String = "",

                @get: NotBlank (message = "{last_name.required}")
                    var lastName : String = "",

                @get: NotBlank (message="{email.required}")
                @get: Email (message = "{email.invalid}")
                    var email : String = "",

                @get: NotBlank (message="{phone.required}")
                    var phone : String = "",

                @get: NotBlank (message="{address.required}")
                    var address : String = "",

                @get: NotBlank (message="{city.required}")
                    var city : String = "",

                @get: NotBlank (message="{state.required}")
                @get: Size(min=2, max=2, message = "{state.size}")
                    var state : String = "",

                @get: NotBlank (message="{zip.required}")
                    var zip : String = "")

You will notice a couple of things in the class. The first is the @get [annotation] annotation. Kotlin generates getter/setter methods in the Java bytecode. When we use the @get annotation followed by the annotation, Kotlin will place the target annotation on the getter method. So for example, @get: NotBlank is telling the Kotlin compiler to place the @NotBlank annotation on the generated getter method.

Next you will notice the message argument that is passed to the NotBlank annotation. In the first example, we have message = “{first_name.required}”. The message parameter takes a String that is displayed to the user when validation fails. If we use expression language, Spring boot will look for a ValidationMessages.properties file that contains the actual message. This is useful when making localized applications because you can have a different ValidationMessages file per language.

In this example, we are using three different Hibernate Validator annotations.

  • NotBlank—Valid if a String is not blank. Fails is the String is blank or null.
  • Email—Valid if the string field contains a valid email address
  • Size—Valid if the string has at least min number of characters and less than max characters

Step 2—ValidationMessages.properties

If you choose to use a ValidationMessages.properties file, Spring Boot will look for the actual message inside of a ValidationMessages.properties file in the applications classpath. I find this to be the preferred approach because it allows develoeprs to easily localize an application if needed. Here is the properties file we are using in this example.

first_name.required="First name is required"
last_name.required="Last name is required"
email.required="Please enter your email address"
email.invalid="Please provide a valid email address"
phone.required="Please enter a phone number"
address.required="Please enter your address"
city.required="Please enter a city"
state.required="Please enter a state"
state.size="Please use 2 letter state code"
zip.required="Enter a zip code"

The keys of the file are the same as when is passed to the message parameter of each bean validator annotation. The value is what is ultimately displayed to the user.

Step 3-Controller

Spring MVC uses a controller class. Here is the code for our controller in this example.

@Controller
@RequestMapping("/")
@Scope(WebApplicationContext.SCOPE_REQUEST)
class ValidatorController(@Autowired val registrationService: RegistrationService) {

    @RequestMapping(method = arrayOf(RequestMethod.GET))
    fun doGet(model : Model) : String {
        model.addAttribute("user", User())
        return "index"
    }

    @RequestMapping(method = arrayOf(RequestMethod.POST))
    fun doPost(@Valid user : User,  //The @Valid annotation tells Spring to Validate this object
               errors : Errors)  //Spring injects this class into this method. It will hold any
                                //errors that are found on the object
            : String {
        val result : String
        when {
            //Test for errors
            errors.hasErrors() -> result = "index"
            else -> {
                //Otherwise proceed to the next page
                registrationService.user = user
                result = "redirect:/congrats"
            }
        }
        return result
    }
}

The first method is doGet which is mapped to an HTTP Get request. Nothing fancy here for those readers who are famailier with Spring MVC (This post explains Spring MVC for users who are not famalier with Spring MVC). All we do here is create a new instance of the User class and pass it to the view.

The doPost is the method that we care about for this post. This method has two parameters. The first one is a User argument that is annotated with @Valid. The other one is an Errors object. These two argument work in tandem to validate a Spring MVC form.

The User object is bound to the web form. Each field in the form is mapped to a property on the User class. When the form is submitted, Spring MVC carries this object from the View to the Controller. However, if the parameter has the @Valid annotation, then the User object make a stop and is examaned by a class that impelements javax.validation.Validator. Should the validation report any errors, they are gathered together in the Errors object that is injected into this method.

The errors.hasErrors() method returns true if the user entered invalid input into the form. We can return the name of the page that was submitted and report the errors back to the user if that is the case. Here is what it looks like.
Invalid copy

On the other hand, we can redirect the user to the next page if everything is ok (errors.hasErrors() == false).
Congrats copy

Step 4—The View

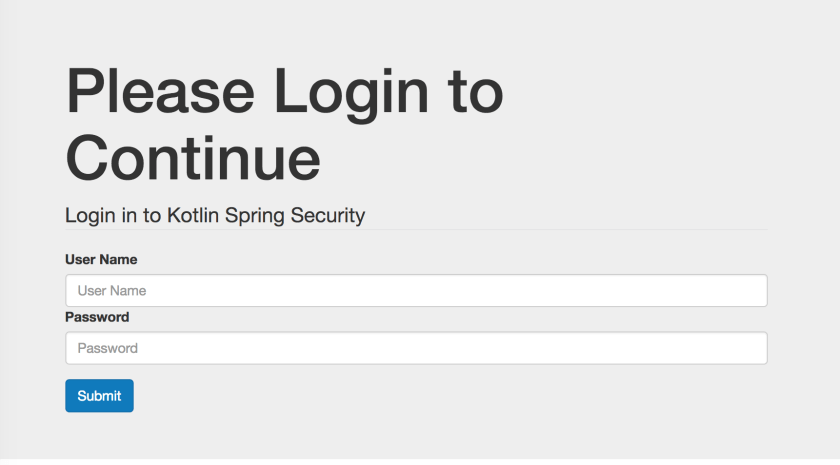
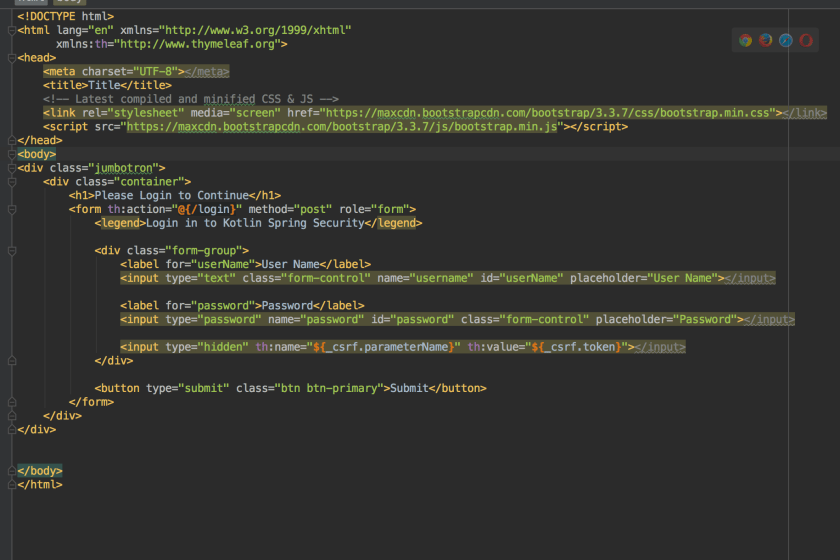
Of course, we need to setup our web page properly in order to actually see the errors. Since I am a big fan of Twitter’s Bootstrap, I use their form validation framework to make a nice front-end display to the errors message.

Here is a code snippet of a field on the form.
field
We use a teneray expression to check each field if it has errors th:class="${#fields.hasErrors('firstName') ?'form-group has-error' : 'form-group'}". If the field has an error, we use bootstraps has-error css class to get the red outline. Otherwise, we don’t add that class and just use form-group. In case you are wondering, the fields object is the same Errors object that we were using in our server code. This is just another rendition of the same object.

The next thing to do is print out each error. This can be done very easily by using the th:each tag and assigning each message to the err variable: th:each="err: ${#fields.errors('firstName')}" class="help-block" th:text="${err}". When executed, this code will look up the message (found in ValidationMessages.properties) for each error and write is out to a span tag.

When run, each field that has an error will have its textbox outlined and the error message printed below the text box.

Getting the Code

You can get the complete code for this project at my github page.
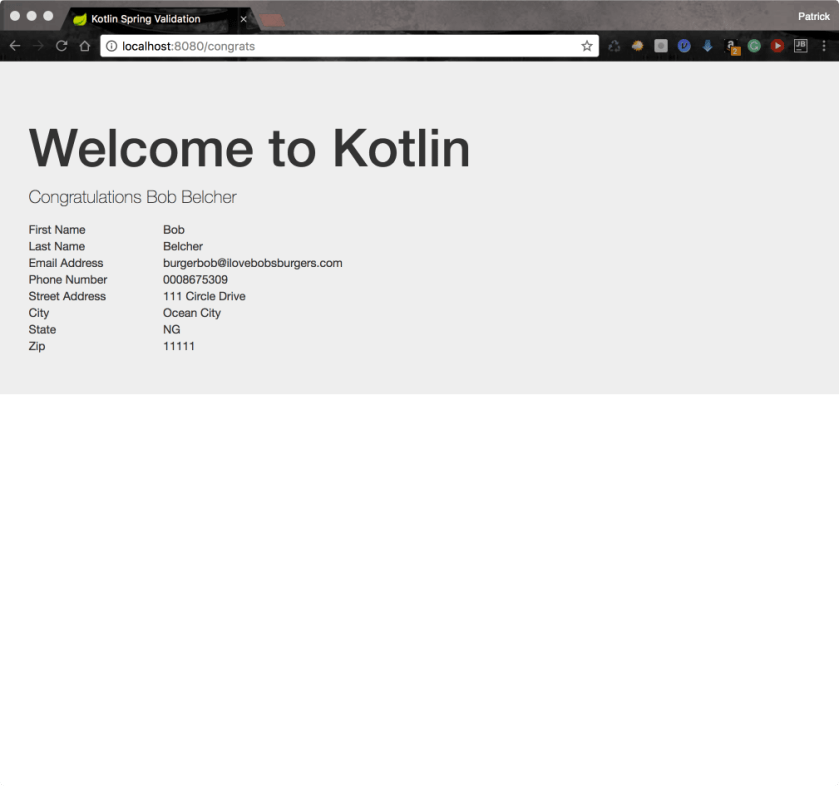
Result

Here is the final result